If you're running an online based business that lives and breaths on it's ability to consistently generate leads and sales from it's website visitors, ensuring your site performs to a high level should be the number one factor that's assessed when looking optimising it for conversions.
Let's take a step back just for a moment....
Since the beginning of 2017, mobile devices have been consistently providing around 51.51% of global traffic.
Why is this specific statistic important? I thought we were talking about speed?
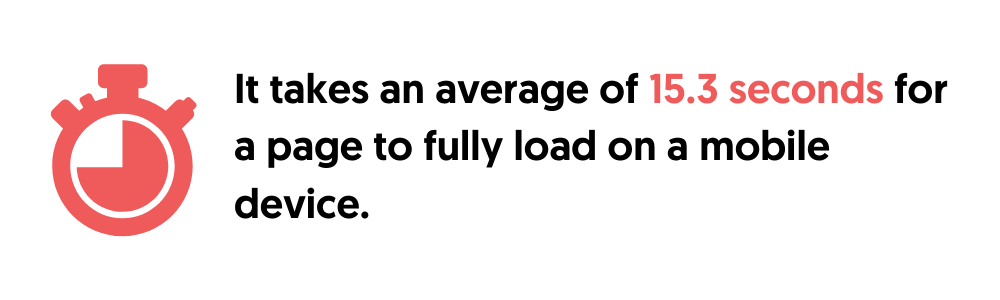
Well, recent studies have shown it takes an average of 87.84% longer for a website to load on a mobile device vs. desktop.
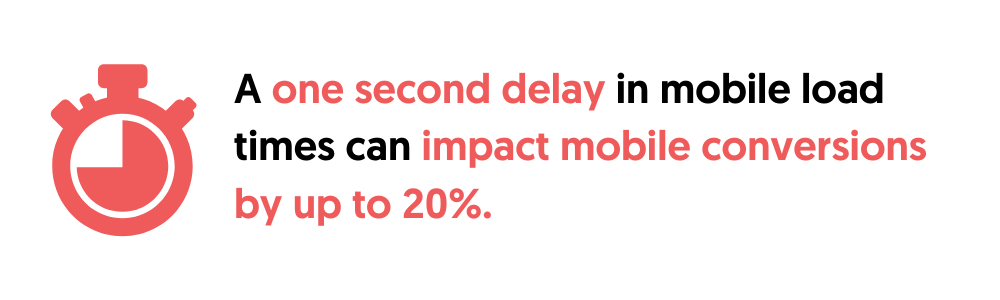
So if your website is not up to speed, the issue is going to be further emphasised for over 50% of your overall traffic! Costing you conversions.
Just take a quick look at these stats:
Source: thinkwithGoogle
But that’s not all, a poll conducted by Google Webmasters asked what people dislike most when browsing the web on their mobile device.
The result?
Over half of those agreed that slow loading speed was the most disliked.

The bottom line?
Speed matters.
So how do we go about fixing a slow website?
First, we need to diagnose the issue.
To do this, head over to the GTmetrix page speed tool and input your website URL.

Once your URL has been analysed, you will be presented with a waterfall chart displaying the ways in which your website loading speed is being affected.
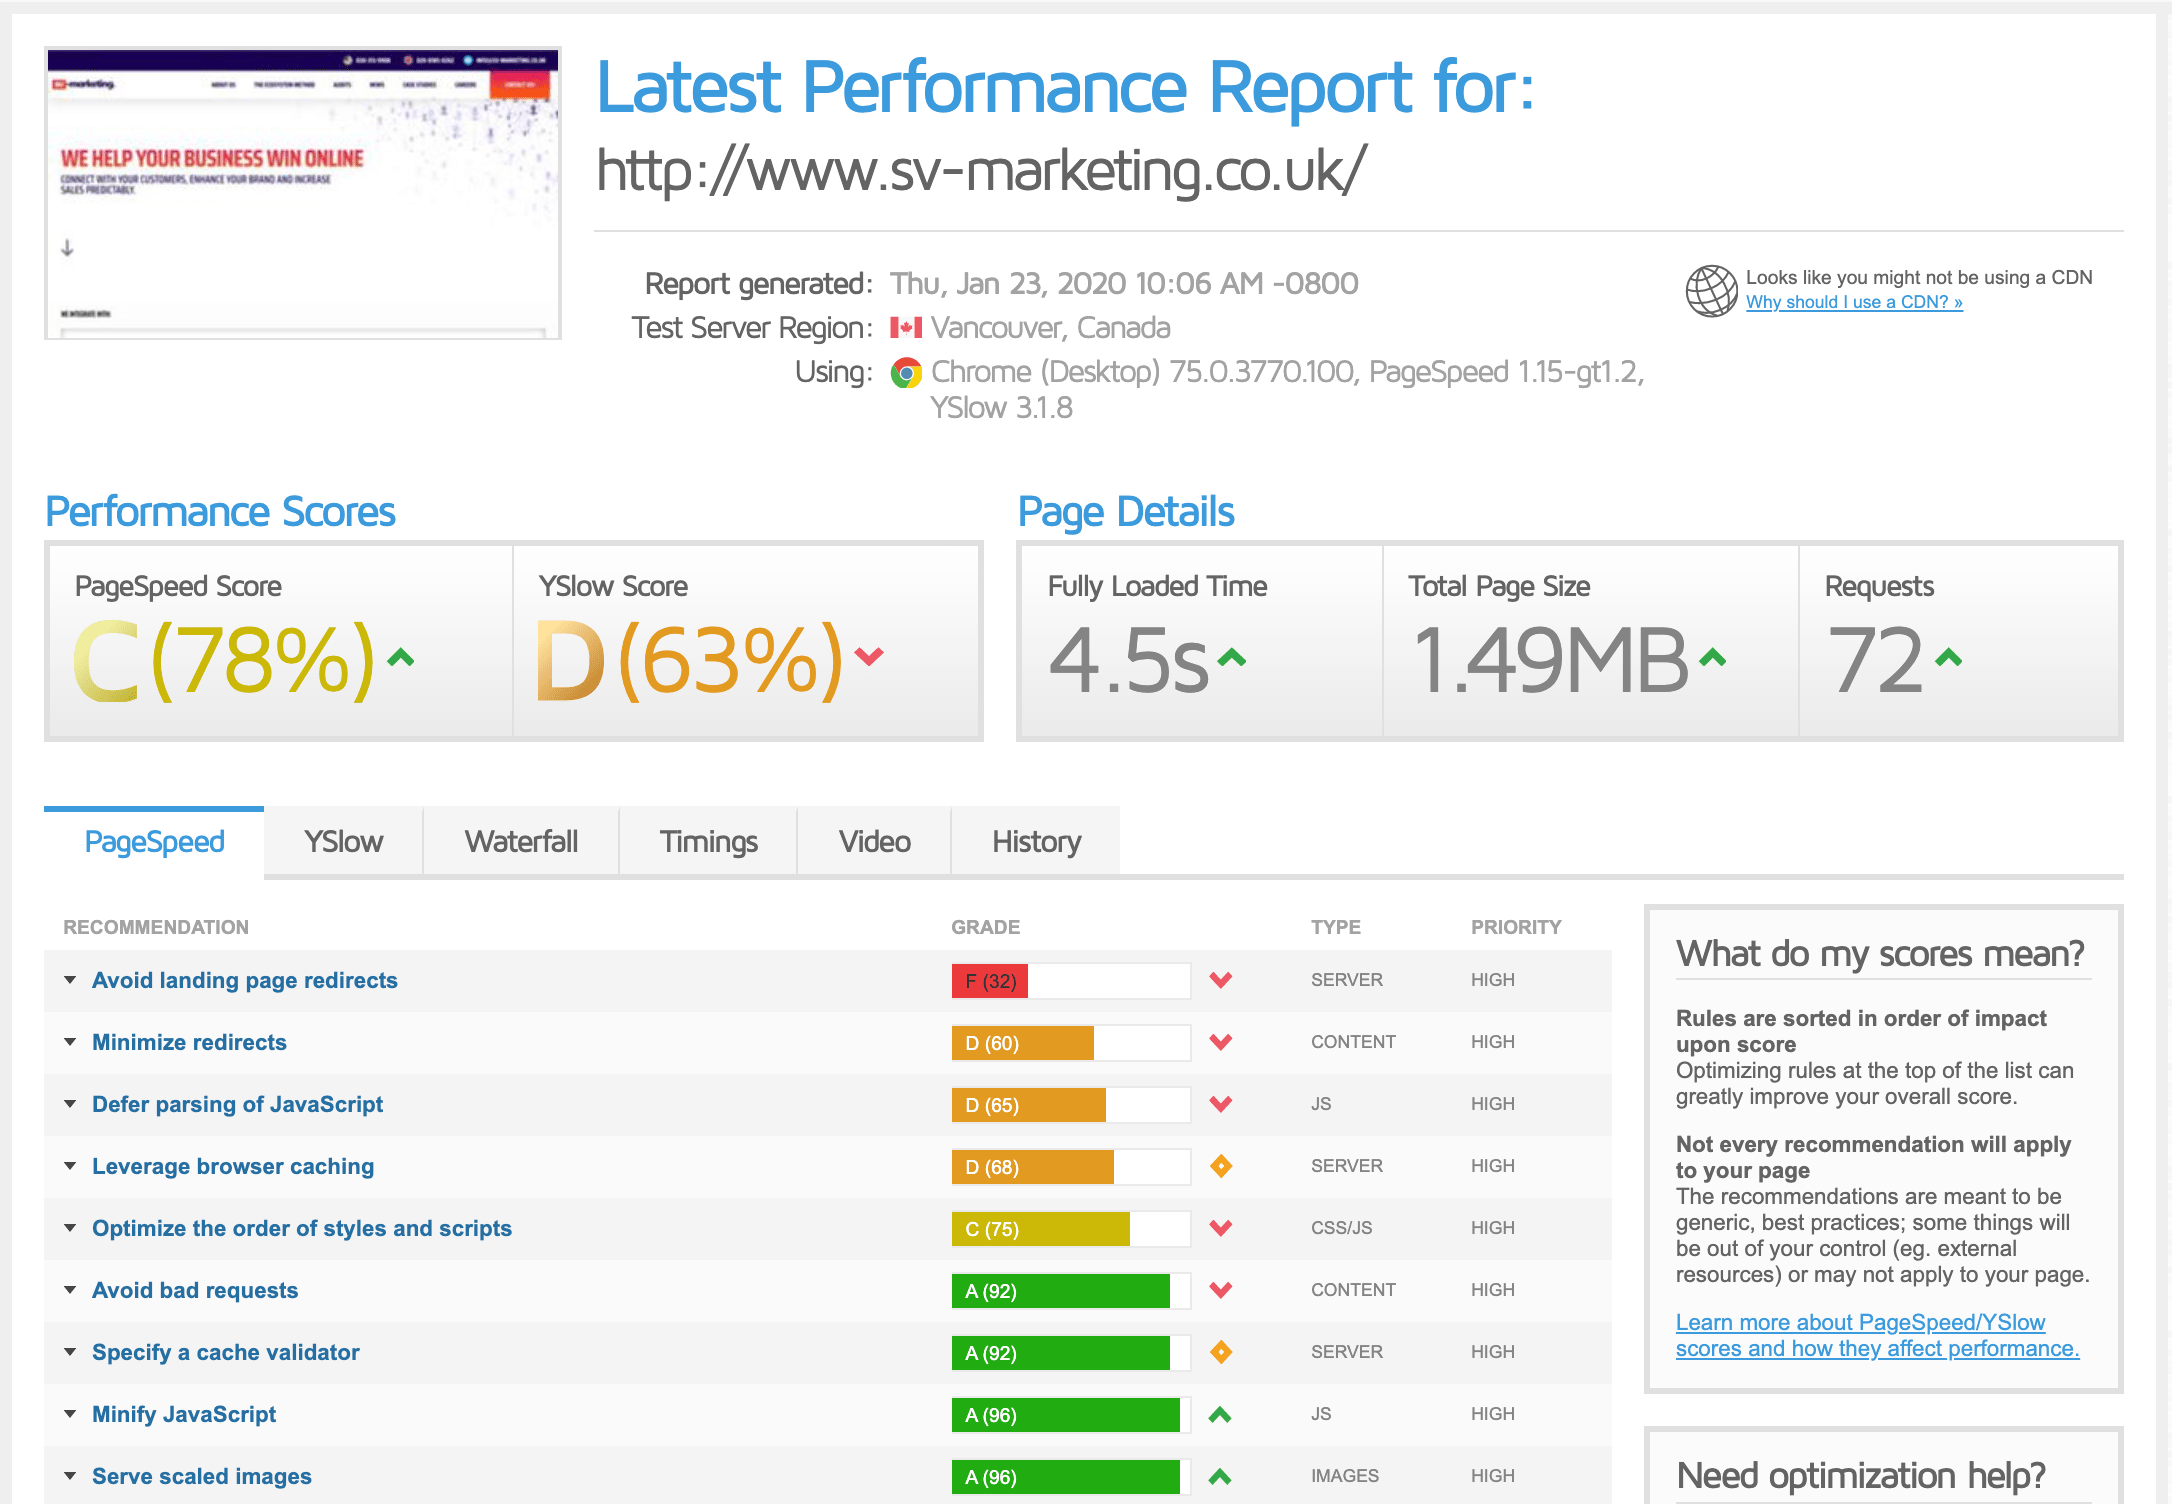
Don’t worry if the data shown doesn’t make sense to you, as in this guide we’ll simply focus on the two most common issues to arise from this speed test.
The Usual Culprits
Over the past 4 years, I have audited almost 100 websites across various different niches, and in every instance where the loading speed was slow there were 2 consistent causes.
- Unoptimised Images- Browser Caching
Unoptimised Images
The primary goal of correctly optimising your images for page speed, is to find a balance between the lowest file size and an acceptable quality.
Here’s 3 ways to optimise your images for web:
Choose the right file type.
There are two main types of image format you can use for web that will be supported by all browsers.
PNG Images
Higher quality images, but larger file size. I recommend using for 'simple images' like the examples below ( icons, logos, solid colours etc ) or anything that requires a transparent background.

JPEG Images
Easier to adjust the balance between quality and file size. Recommended for use on images with lots of colours, low contrast between colours like the examples below ( natural images etc ).

Image Dimensions
Previously, ensuring your images were correctly scaled before uploading them was massively important.
But ever since Wordpress 4.4 was released back in 2015, it now natively supports the cropping and resizing of images by auto generating several sizes of each as you upload them.
Allowing you to choose which size to use as you individually add them to your web pages.
Scaling existing images
To edit any existing images on your site, navigate to the media tab in the left hand side of your Wordpress admin and select 'Library'.
From there you will see images currently uploaded to your website.
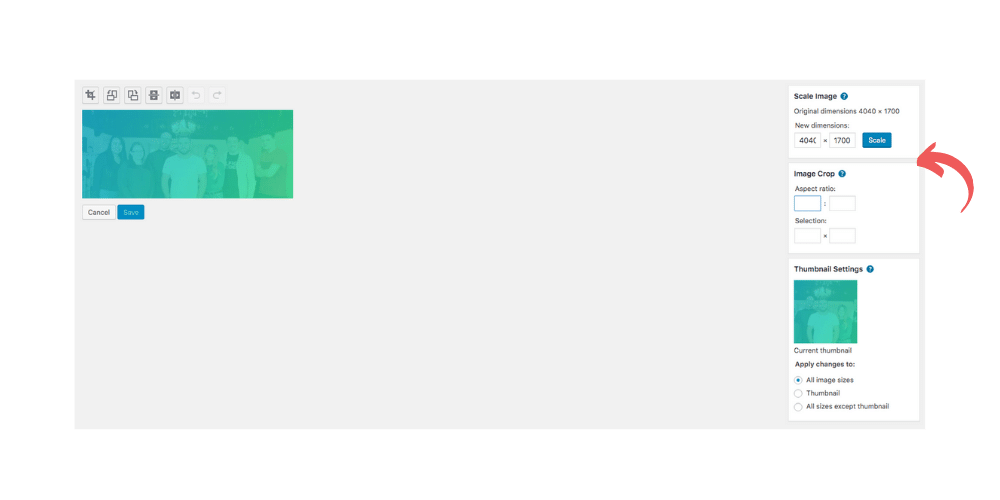
Find and select the image you wish to edit and click on the 'edit' button below the file as seen in the image below.

Then, simply use the scale and image crop settings in on the right hand side to edit your image accordingly.
Why should you scale your images?
On average, images will account for around 50% of the overall page loading speed. So scaling them to size is important.
If your websites maximum display width is 1400px and your images are 6000px width, it means the site must load that larger image into a much smaller screen size.
Affecting you speed, user experience and most importantly - hurting potential conversions.
Won't my image quality be reduced?
In short? Yes.
But it's a small sacrifice to pay if your conversions increase as a result!
Image Compression
Before placing your images onto your pages, you must ensure they're compressed.
What is image compression?
Image compression is the minimisation of image file size without degrading the quality to an unacceptable level.
The resulting decrease in file size positively affecting your overall page loading speed.
So, how do we compress our images?
For Wordpress, use this plugin.
If you have an existing Wordpress website, and you don't want to start downloading / re-uploading hoards of images to optimise them, the wpsmush plugin is great.
It will also automatically compress any future images you upload to your site also.

To get it, navigate to the 'plugins' tab in your Wordpress dashboard, and search for 'WP Smush'.
Or alternatively you can download it here.
Once installed and activated, click on the 'smush' tab now displaying in your left hand admin bar.
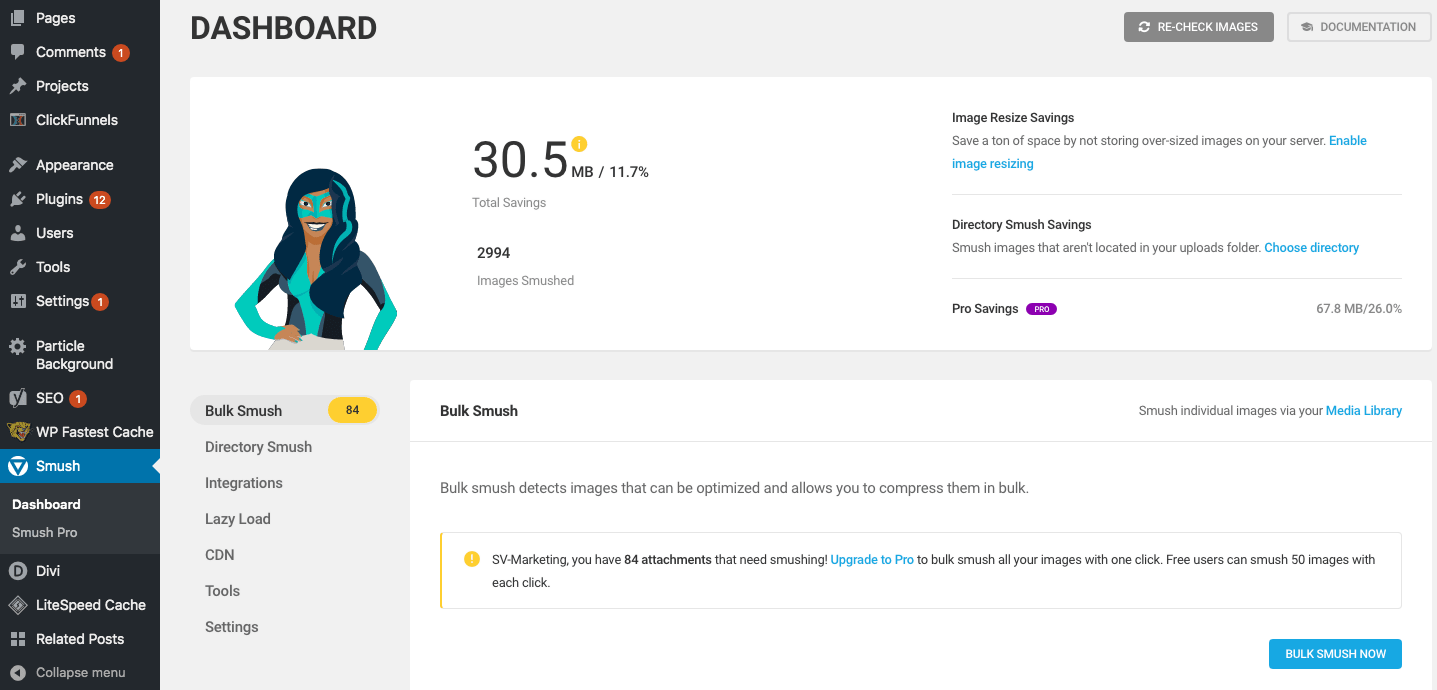
To start compressing your existing images, just click the 'bulk smush now' button, and the plugin will get to work!
Or alternatively, use this free online compression software.
My personal 'go to' resource for image compression is www.compresspng.com.
This free resource will allow you to compress up to 20 JPEG, PNG or PDF files at a time, quickly and easily.
Simply upload your images, compress and download before re-uploading them to your website.
Browser Caching
What is ‘browser caching’?
Essentially, it’s when your browser caches ( saves ) certain aspects of a webpage so it can load faster on repeat visits.
How is it implemented?
If you’re using a Wordpress installation, caching can be enabled with the use of a free plugin.
My preferred?
WP Fastest Cache

How to set it up
First things first, click on the ‘plugins’ tab within your Wordpress admin dashboard and search for ‘WP Fastest Cache’.
Or you can download it here and upload it.
One it’s installed and activated, navigate to the settings by clicking ‘WP Fastest Cache’ tab that should now appear in the left hand column of your admin area.
Settings
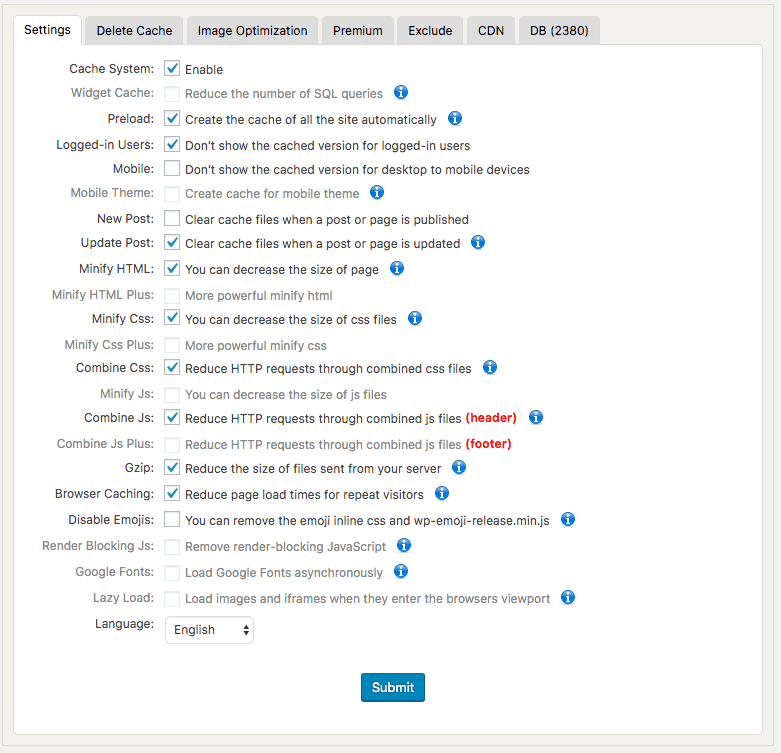
Simply follow the suggested settings below for optimal results:
Cache System - Enable
Preload - Enable
Logged In Users - Enable
Update Post- Enable
Minify HTML- Enable
Minify CSS - Enable
Combine CSS - Enable
Combine JS - Enable
GZIP - Enable
Browser Caching - Enable
To note:
Having a cache system in place will mean any changes made to the website might not be viewable until the cache is reset / deleted.
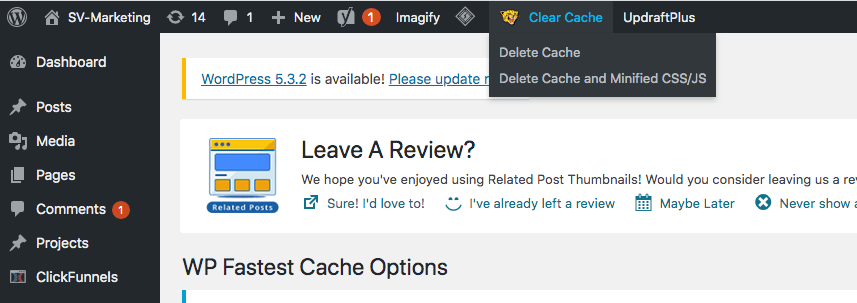
To do this, simply navigate to the top bar of your admin and click on ‘delete cache’ after making any changes to see them on the live site.
Now that our page loading speed has been optimised, it’s time to move onto step number two.

.png)


